Gah! It’s only been a month since I last put up a post on my progress… A lot has happened since then, but the main delay was that I found that the plans and trailer that I had bought from the same company didn’t match! (I could have included blog posts full of pictures of me tearing my hair out, but decided against it. :P)
Anyways, I noticed the discrepancies when I was figuring out measurements for the plywood floor. There’s a section in the trailer for the tiny corner porch where the flashing (the metal sheathing screwed to the underside of the trailer to protect it from the elements) is missing to allow water to drain through the porch. This area was much bigger than in the plans, and what’s more, the length of the trailer didn’t match the plans!
After talking to Tumbleweed, the company that made the plans and the trailer, I found that they knew about the discrepancies, and they said that they would give me updated plans, but that they might not be finished until MID SUMMER. After much gnashing of teeth, I got some personalized assistance from their drafter and was able to make some more progress.
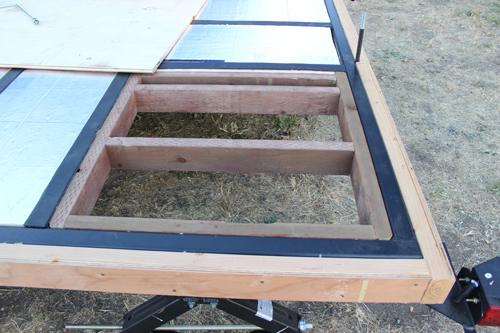
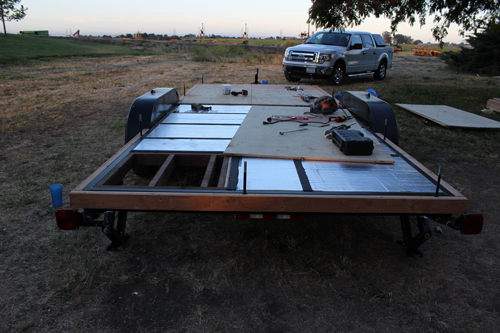
The first order of business was to add some support to the inside of the porch beams to allow the front wall to extend over the beam and thus make the porch area smaller. Normally, we (my dad and I) would still be framing the porch with treated lumber, but this time we added an extra 2x4 and plywood filler to make sure that the side wall would have a solid base. We bolted that to the trailer beams, and used self tapping screws on the rest of the porch floor framing.
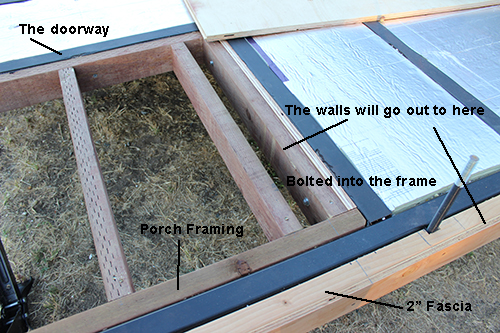
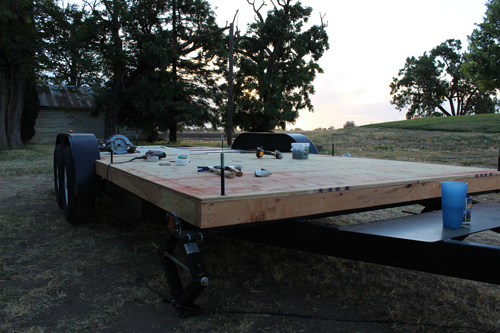
With that done, we were able to put down the plywood by screwing it into the metal trailer frame, and nailing it into the 2” fascia that we put around the trailer. Screwing through metal is tough, so I got to use a drill that’s normally used for concrete.

Here’s what it looked like as the plywood was going on:
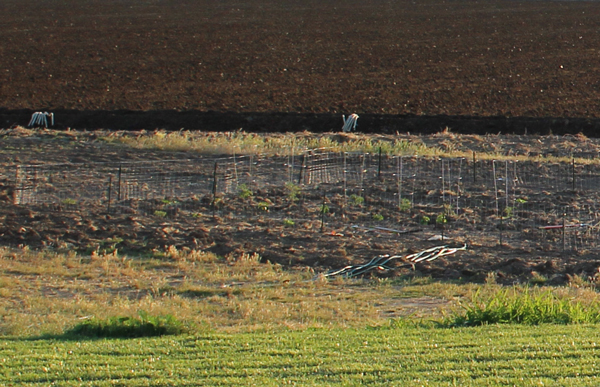
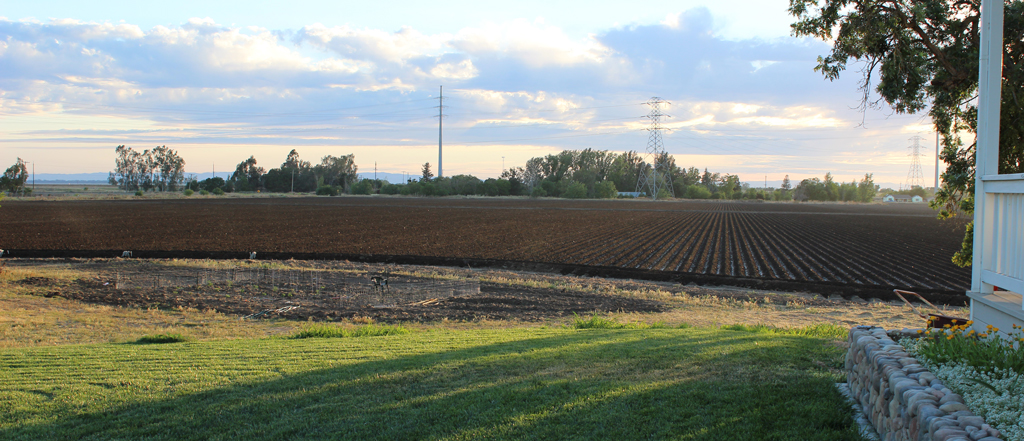
While I was waiting for updated plans, I fenced in and planted a huge vegetable garden, so it wasn’t all bad. Can’t wait for those homegrown tomatoes!